Learn how to turn rough river rocks into polished gems with our complete guide to rock tumbling. Discover the secrets to tumbling Washington carnelian agates for the best shine.
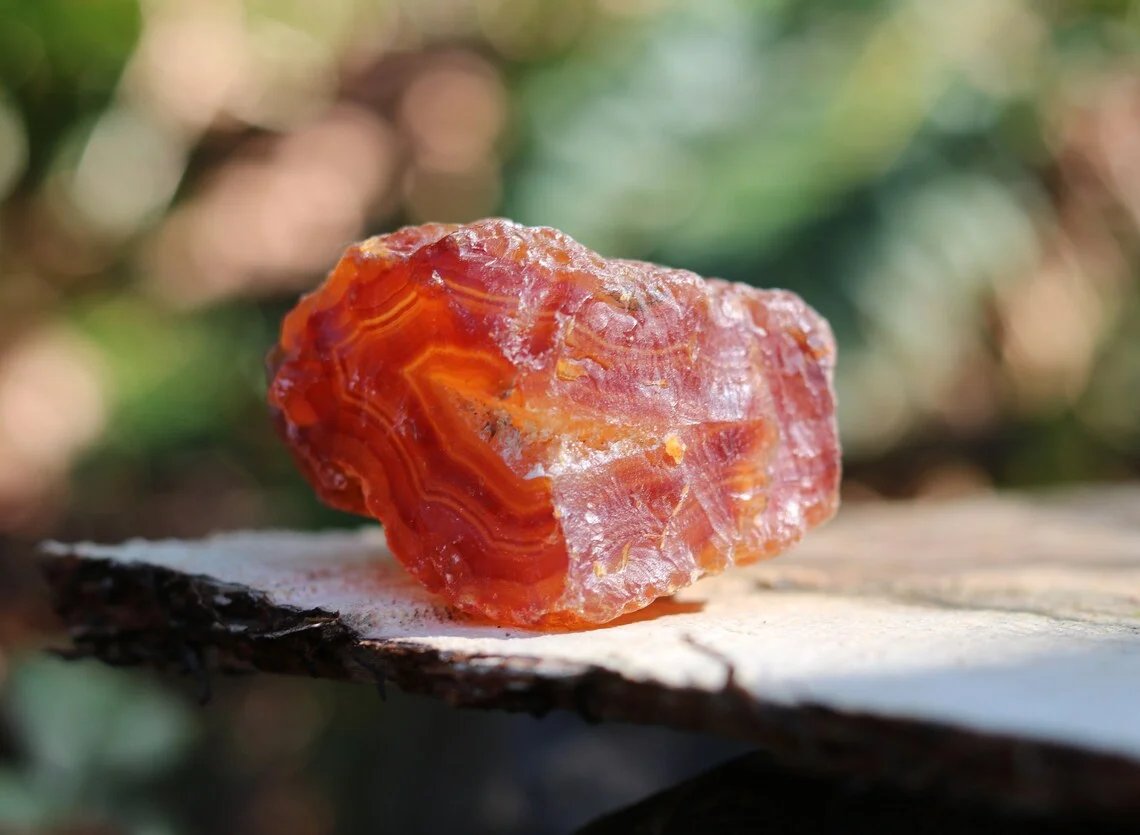
There is a specific feeling every rockhound knows. You are standing on a river bar in the rain. You look down and see a glint of orange in the gravel. You pick it up. It is rough and covered in mud, but you can see the potential. You wipe your thumb across it and see that deep, glowing red color.
You put it in your pocket.
But then you get home. The stone dries out. It looks chalky. The magic seems to fade a little bit. You want that "wet look" to stay forever. You want to turn that rough piece of geology into a shining gemstone that you can display on your shelf.
This is where rock tumbling comes in.
Rock tumbling is the art of mimicking nature. A river polishes stones over thousands of years by dragging them across sand and other rocks. A rock tumbler does the exact same thing, but it finishes the job in about a month.
At Agate Outpost, we process pounds of Washington Carnelian every single year. We have made every mistake in the book so that you do not have to. We have learned that patience is the most important ingredient in the recipe.
If you are ready to transform your raw finds into glass smooth treasures, this guide will walk you through the entire process.
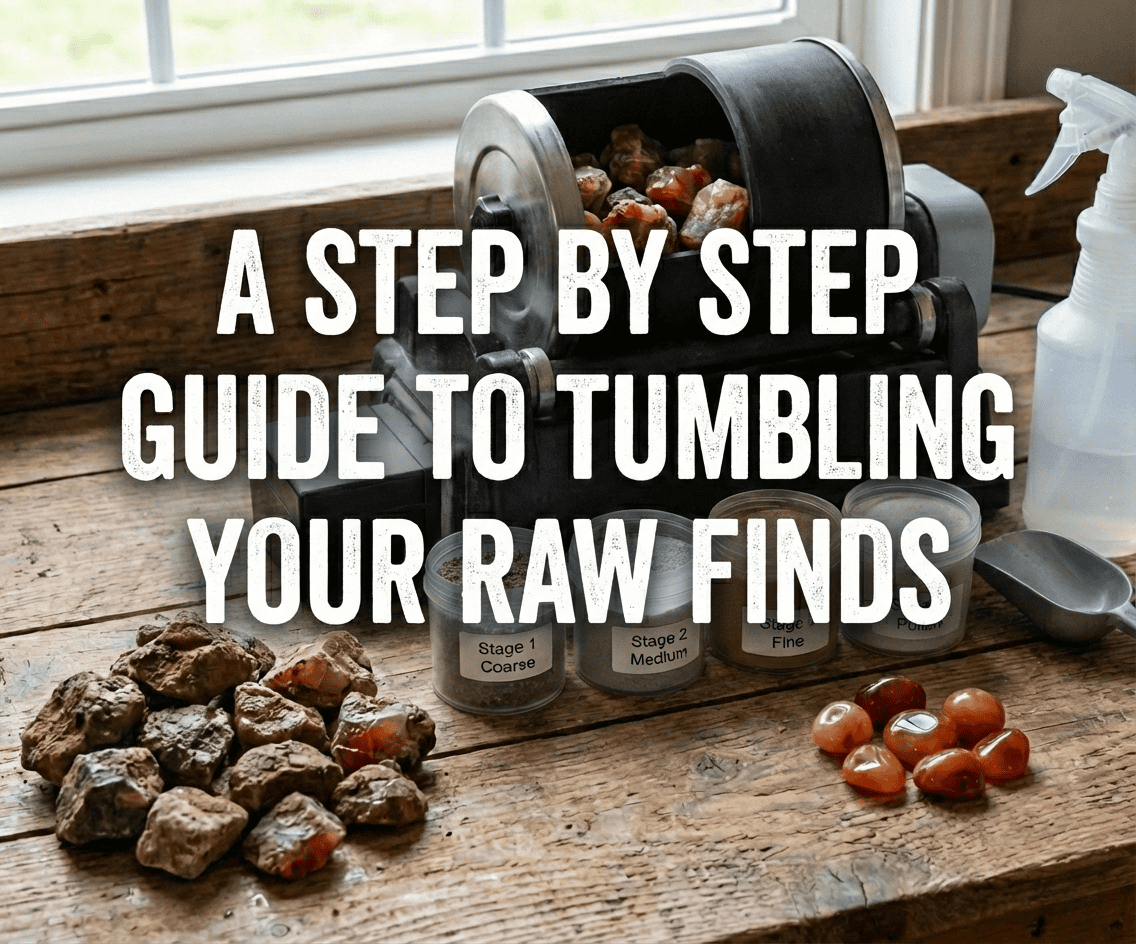
The Equipment You Need
Before you start, you need the right tools. You do not need a professional lapidary shop, but you do need a few specific items to get professional results.
1. The Tumbler
There are two main types of tumblers. You have rotary tumblers and vibratory tumblers. For beginners, we almost always recommend a rotary tumbler. These are the machines with a rubber barrel that spins round and round. They are quieter, easier to use, and they do a better job of shaping rough rocks into smooth, rounded pebbles. Brands like Lortone or Thumler's are the gold standard, but the National Geographic hobby tumblers can work well for smaller batches.
2. The Grit
You cannot just put rocks in a barrel and hope for the best. You need silicon carbide grit. This is a hard abrasive material that acts like sandpaper. You will need four different stages of grit.
- Stage 1: Coarse (60/90 grit)
- Stage 2: Medium (120/220 grit)
- Stage 3: Fine / Pre Polish (500 grit)
- Stage 4: Polish (Aluminum Oxide)
3. The Rocks
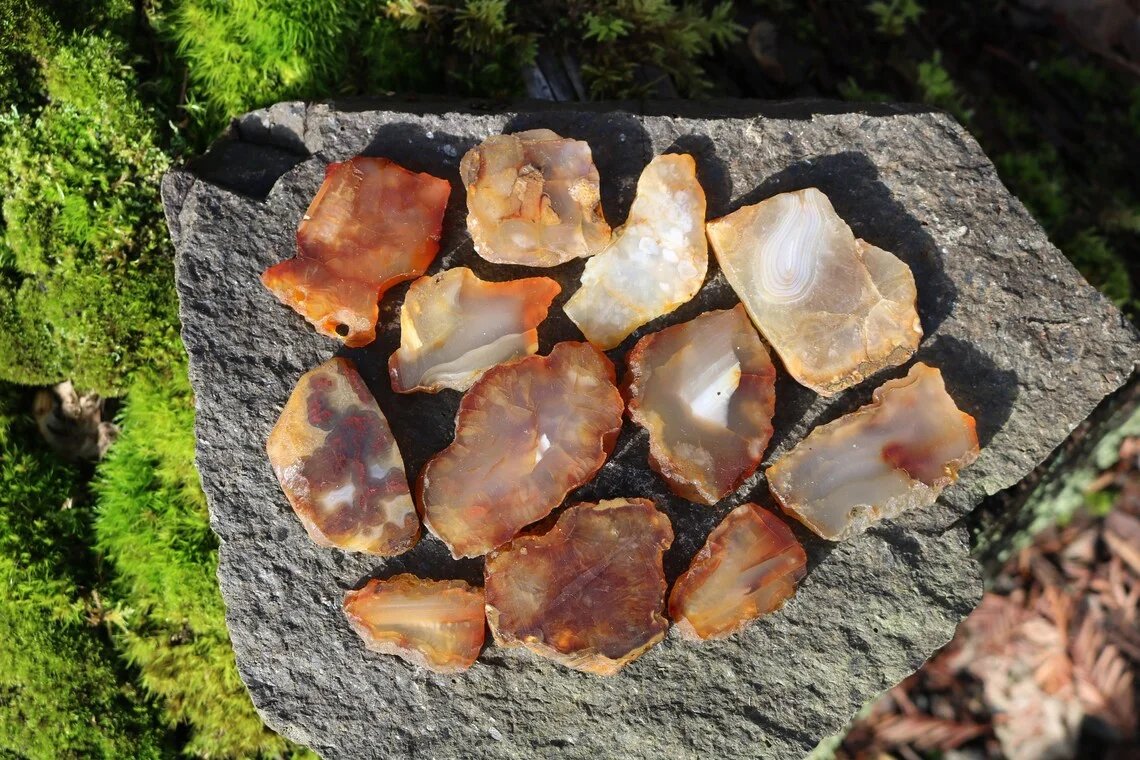
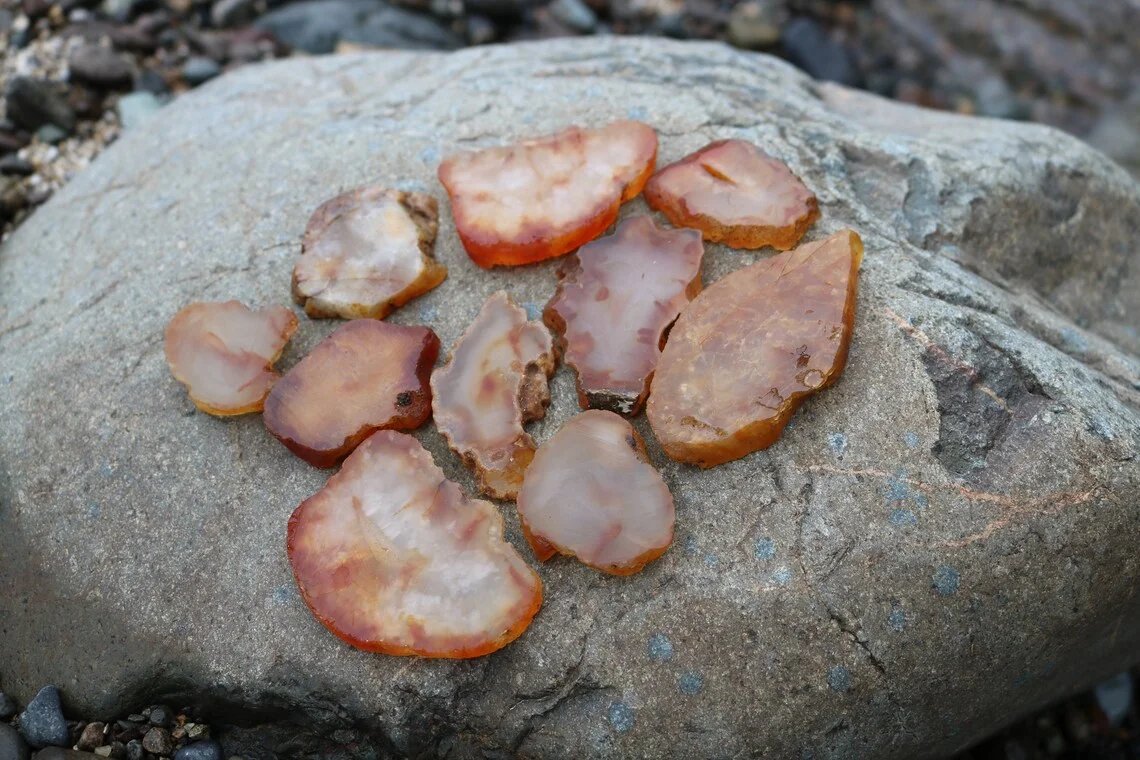
This might sound obvious, but selection is key. You need rocks that are hard enough to take a polish. Agates, jaspers, and quartz are perfect candidates because they have a Mohs hardness of 7. Do not mix soft rocks like sandstone or calcite with hard rocks like agate. The hard rocks will grind the soft rocks into dust.
Step 1: Sorting and Preparation
The most common mistake beginners make is throwing everything they found into the barrel.
You have to be picky.
Inspect your raw agates. Look for deep cracks or pits. If a stone has a deep fracture, the grit will get stuck inside it. Later on, that coarse grit will fall out during the polish stage and scratch all your rocks.
You have two options for bad rocks. You can either throw them back in the garden, or you can use a tile saw or hammer to break the rock along the fracture line. We recommend breaking them. Often the best color is hiding right inside that crack anyway.
Fill your barrel about 2/3 to 3/4 full of rocks.
If you underfill the barrel, the rocks will crash into each other too hard and bruise. If you overfill it, they will not have room to tumble and grind.
The Water Level
Add water until it just reaches the bottom of the top layer of rocks. Do not fill it to the brim. You want the rocks to tumble through a slurry, not float in a soup.
Stage 1: The Shaping Phase
Add your coarse grit. For a standard 3 pound barrel, you want about 3 to 4 tablespoons of Stage 1 grit.
Seal the barrel tight. Put it on the motor base. Turn it on.
Now you wait.
This is the hardest part of the hobby. You need to let this stage run for at least 7 days.
The Check Up
After a week, open the barrel. Rinse off a few rocks and look at them. The goal of Stage 1 is to remove all the sharp edges and rough skin. The rock should feel smooth and rounded. If you still see deep pits or sharp angles, they are not ready.
Put them back in. Add fresh grit. Let them run for another week.
It is perfectly normal for agates to stay in Stage 1 for two or three weeks. Do not rush this. If the shape looks bad now, it will look bad when it is shiny. You cannot polish a mistake. You have to grind it out.
The Great Clean Up
This is the most critical rule of rock tumbling.
Contamination ruins everything.
When you move from one stage to the next, you must remove every single grain of the previous grit. If a single grain of Stage 1 grit carries over into Stage 2, it will scratch your rocks constantly. You will never get a shine.
Wash the rocks. Wash the barrel. Wash the lid. Use a toothbrush to scrub the seal of the lid. Wash your hands.
Do not pour the slurry down your sink drain. It turns into cement and will destroy your plumbing. Pour it outside in a bucket or a corner of your yard.
Stage 2: The Smoothing Phase
Once your rocks are perfectly clean and the barrel is spotless, put the rocks back in.
Add your Stage 2 Medium Grit. Use about 3 to 4 tablespoons again. Add water to the same level.
Run this stage for 7 days.
This stage removes the deep scratches left by the coarse grit. It prepares the surface for the finer steps.
When you check them after a week, the rocks should look very smooth. They will have a matte finish. They will not be shiny yet, but they should feel lovely to the touch.
If they look good, clean everything again. Scrub the barrel. Scrub the rocks. Be paranoid about cleanliness.
Stage 3: The Pre Polish
This is where the magic starts to happen.
Put the rocks back in. Add your Stage 3 Fine Grit.
Run this for 7 days.
This grit is very fine. It is practically a powder. It is polishing away the microscopic scratches from the medium grit.
When you open the barrel after this week, the rocks should look satiny. When they are wet, they should look almost finished. When they dry, they will have a slight haze to them.
Stage 4: The Polish
This is the final lap.
Clean everything. This clean up must be perfect. Even a spec of dust can be an issue here.
Add your Stage 4 Polish. Most kits come with Aluminum Oxide or Cerium Oxide.
Run this stage for 7 to 10 days.
We like to let the polish stage run a little longer. It ensures that every surface gets touched by the polishing powder.
When the time is up, open the barrel. Take out a rock and rinse it off. Even when it is dry, it should look wet. It should gleam. It should reflect the light like a mirror.
Step 5: The Burnish (Optional but Recommended)
Sometimes you take the rocks out of the polish and they look a little hazy. Or maybe there is a grey film on them.
This happens because the polish can get stuck in the microscopic pores of the stone. To fix this, you need to burnish them.
Put the clean polished rocks back in the barrel. Add water. Instead of grit, add a tablespoon of shaved Ivory soap or Borax laundry booster. Do not use dish soap like Dawn, as it foams up too much and can blow the lid off your barrel.
Run this soap cycle for about 2 hours to 24 hours.
This bath cleans the rocks chemically. It lifts the polish residue out of the stone. When you open the barrel this time, the results will be blinding.
Troubleshooting Common Issues
The Rocks Bruised
If your rocks have little white crescent moon marks on them, they crashed into each other too hard. This usually means you did not have enough rocks in the barrel. Next time, add plastic pellets or ceramic media to cushion the load.
The Rocks Are Dull
This almost always means contamination. You likely dragged some coarse grit into the polish stage. Sadly, the only way to fix this is to go back to Stage 2 and start over. It is painful, but it is part of learning.
The Barrel Leaked
This happens. Usually, it is because the rim of the barrel was wet or dirty when you sealed it. Always make sure the sealing surfaces are bone dry and clean before you put the lid on.
Finding Material to Tumble
Now that you know how to do it, you need rocks.
You can certainly go out to the local rivers here in Washington and hunt for them. We have a blog post about the best places to look. It is a wonderful way to spend a Saturday with the family.
But we also know that not everyone lives near a volcanic riverbed. Or maybe you want to start a batch of high quality stones without spending months collecting enough material to fill a barrel.
We can help with that.
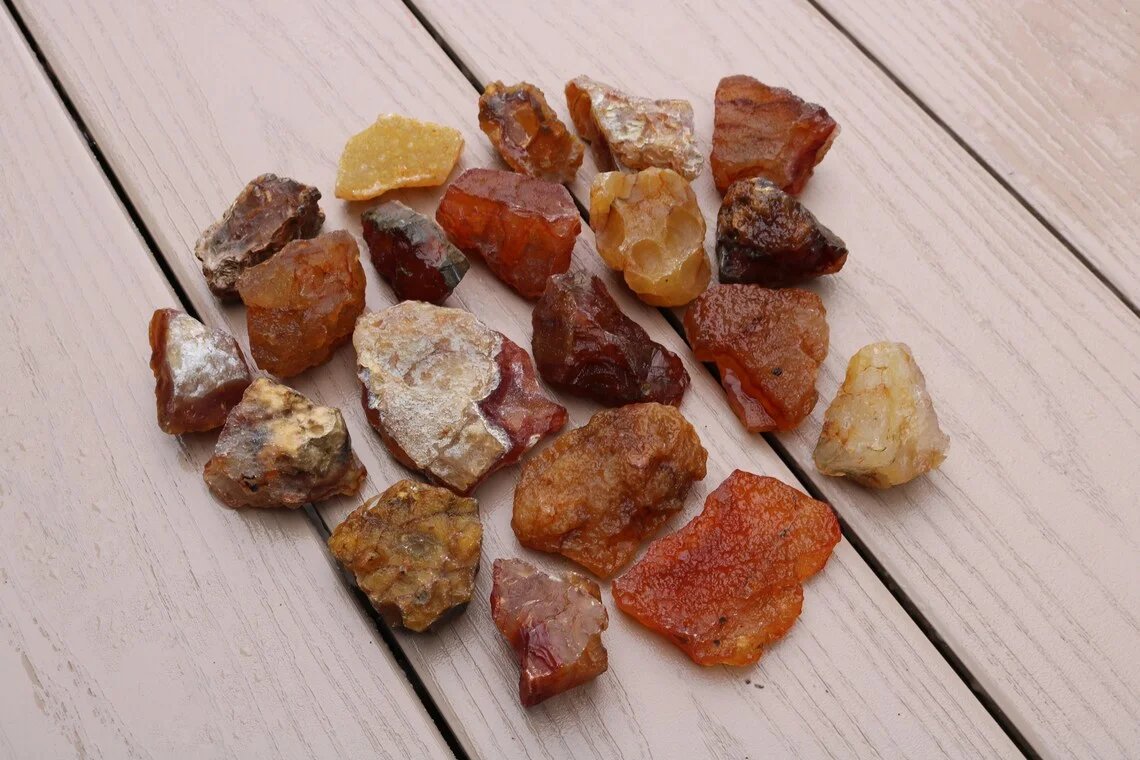
We offer packs of raw, untreated Washington Carnelian specifically selected for tumbling. These are stones we have found ourselves. We check them for quality to ensure you are not wasting your time tumbling driveway gravel.
We offer them in different sizes depending on your needs. You can get a bag of small nodules that will polish up quickly, or larger chunks that will become showpiece specimens.
Starting with high quality rough material is the best way to ensure you get high quality results.
Shop our Raw Carnelian Tumbling Rough on Etsy
Rock tumbling is a lesson in delayed gratification. In a world where everything is instant, there is something deeply satisfying about waiting a month to see your results. It teaches us to slow down. It teaches us to appreciate the process. And at the end of it, you have a piece of permanent natural beauty that you made with your own hands. Once your agates are polished, learn how to clean and care for your carnelian agates to keep them looking their best. If you prefer cutting your finds instead, check out our guide on Cutting Carnelian Agates for tips and tricks.
Happy tumbling.